

So after fumbling around a bunch I decided to do a Noobs Tutorial™ about my ongoing Object Source Lighting attempts. Basically this is about painting a model to make it look like a glowing object is lighting up part of it. Great for power weapons, flames, radioactive demon possessed cats, etc.
Disclaimer: This isn't intending to come across like I'm an expert at this whatsoever. This is OSL 101, I'm sharing as I'm learning. So with that in mind...
Model being used: Ultramarines Librarian. This is how he looked before I started.

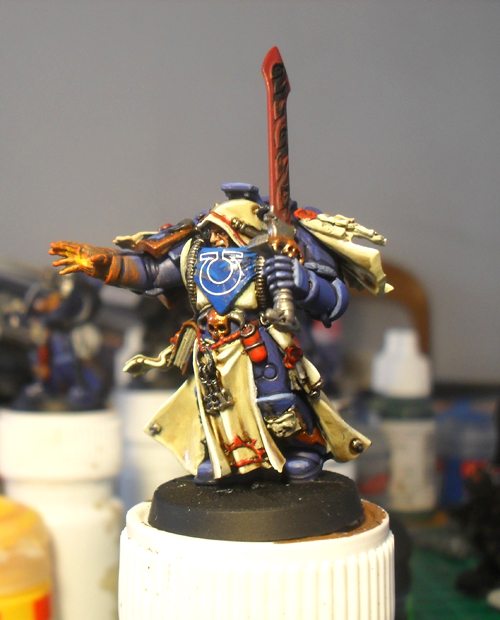
So what I want to do is make his force sword look like it's glowing and casting light back onto the model. Looking at where it was positioned, I figured the light would be hitting the side of his cloth hood, the top of the blue psychic hood, the front of his shoulder pad and the edge of the purity seal on that shoulder pad.
Quickie diagram below!

I got to painting and ended up with this.


HOW I DID IT
The main technique I used was heavily watered down paint for the flat areas, including the side of his head, the purity seal (photo didn't capture that very well but you can hopefully make out the red), etc. By heavily watered down, I mean putting paint on your brush, then dunking it in your water pot a couple times, and then wiping some paint off onto some tissue before putting it on the model. You're building up layers which will start off very subtle. This lets you build up the gradient, by which I mean less to more intense colour reflection.

The main technique I used was heavily watered down paint for the flat areas, including the side of his head, the purity seal (photo didn't capture that very well but you can hopefully make out the red), etc. By heavily watered down, I mean putting paint on your brush, then dunking it in your water pot a couple times, and then wiping some paint off onto some tissue before putting it on the model. You're building up layers which will start off very subtle. This lets you build up the gradient, by which I mean less to more intense colour reflection.

But then I realised building up a soft glow didn't work where the light hit hard edges, so that became a matter of doing a standard line-highlight for the edges in the same colour. That for me was what made the difference from okay looking to... more okay.
I also used a brighter line highlight for the more reflective surfaces such as the metal pipe going into the side of his head.
Here's another shot of the sword if you wanna see that, with some glow going up around his head.

So that's where I'm currently at. Like all painting it's a lot of trial and error and staring at other models a lot. The main tips I can share at my noob OSL level are these:
- Use a mix of heavily watered down paint and edge highlights depending on what you're putting the glow onto
- Imagine a 3D globe that is hitting your model from the source of the light and try not to miss anything out inside that globe
- Remember that the light won't be uniform as it hits the model, it'll gradient away the further away it travels
- Expect to mess up a lot but paint through the pain
Aaaaaand that's my OSL for complete noobs. This model is still a work in progress, I'm hoping to get it looking better over the next day or so, with some more layering along the hood to make it stand out a wee bit more, brightening up the whole effect.
More pics, though these were taken under a yellow tinted lamp.


More pics, though these were taken under a yellow tinted lamp.


0 bleatings to Megapope: